The Complete 2025 Guide: How to Customize an Oversized T-Shirt
The Complete 2025 Guide: How to Customize an Oversized T-Shirt
This is the ultimate guide to customizing your oversized t-shirts. We provide clear, step-by-step instructions for a variety of techniques, from simple no-sew cuts to advanced tie-dye and distressing.
Why Customize Your Oversized T-Shirt?
Customizing your clothes is a major trend in 2025. It is driven by a desire for unique style and sustainable fashion.
Key benefits include:
- Unique Personal Style: Stand out with one-of-a-kind clothing.
- Sustainable Fashion: Upcycle old or plain tees instead of buying new ones.
- Cost-Effective: Revamp your wardrobe on a small budget.
- Creative Expression: It is a fun and rewarding hobby.
Essential Tools and Materials
Before you start, gather your supplies. Most items are common household objects.
Basic Toolkit
- An oversized t-shirt (100% cotton works best for dyeing)
- Fabric scissors
- Tailor's chalk or a washable marker
- Ruler or measuring tape
- Pins or clips
- A cardboard sheet (to insert inside the shirt)
Advanced Materials (for specific techniques)
- Fabric dye, bleach, or tie-dye kit
- Needle and thread or a sewing machine
- Decorative items: patches, fabric paint, studs, or rhinestones
- Sandpaper or a cheese grater (for distressing)
Pro Tip
For a deep dive into choosing the right base garment, see our guide on Choosing the Right Blank Athleisure Wear.
Method 1: No-Sew Cutting Techniques
These are the fastest ways to customize an oversized t-shirt. They require no sewing and give instant results.
1.1 The Classic Crop Top
This method shortens the length of your tee.
- Put on the t-shirt and mark where you want the bottom hem to be.
- Take it off and lay it flat on a surface. Smooth out any wrinkles.
- Use a ruler and tailor's chalk to draw a straight line across the front and back. You can make it longer in the back for a high-low effect.
- Insert cardboard inside the shirt to protect the back layer.
- Cut carefully along the chalk line.
- For a raw edge, you are done. For a slight curl, gently stretch the cut edge.
1.2 The Side Tie Knot
This adds shape and a playful detail.
- Lay the t-shirt flat.
- On the bottom hem, make two small vertical slits, about 4-6 inches apart.
- Tie the two sections of fabric between the slits into a tight knot.
- You can do this on one side or both.
1.3 The Off-Shoulder Cut
This transforms a tee into a breezy off-shoulder top.
- Fold the t-shirt in half vertically.
- Starting from the collar, cut a wide, curved line down to the sleeve seam. Remove the entire collar and a section of the top.
- Unfold the shirt. The front and back will now have a wide, curved neckline.
- Fold the new edge over once or twice to create a cuff, or leave it raw.
Video Tutorial: No-Sew Techniques
Here is a perfect visual tutorial demonstrating some of these no-sew cutting techniques, enhancing the instructions above.
Method 2: Bleach and Dye Customization
This approach changes the color of your t-shirt for a dramatic effect.
2.1 Bleach Dyeing
Bleach removes color, creating cool patterns on darker shirts.
- Safety First: Work in a well-ventilated area. Wear gloves and old clothes.
- Prepare a mix of 50% water and 50% bleach in a spray bottle.
- Lay your dark-colored t-shirt flat. Crumple, twist, or fold it to create texture.
- Lightly spray the bleach solution over the shirt. Do not oversaturate.
- Watch the color change. After 5-10 minutes, rinse the shirt thoroughly in cold water to stop the bleaching process.
- Wash the shirt separately in cold water.
2.2 Tie-Dye Patterns
Tie-dye adds vibrant, colorful patterns. It remains a top method to customize an oversized t-shirt in 2025.
- Soak your damp, natural fiber t-shirt in a soda ash solution (this helps the dye set).
- Twist, fold, or pleat the shirt and secure it with rubber bands. Different folds create different patterns (spirals, stripes, bullseyes).
- Apply your dye colors to the different sections of the bound shirt.
- Place the dyed shirt in a plastic bag and let it sit for 6-8 hours.
- Rinse the shirt with cold water until the water runs clear, then wash it alone.
Looking for Quality Basics?
Check out our Premium T-Shirt Collection for the perfect blank canvas for your customization projects.
Method 3: Sewing and Alteration Techniques
Sewing allows for more structured and durable customizations.
3.1 Adding a Graphic or Patch
This is a direct way to show off your interests.
- Position your iron-on patch or graphic on the t-shirt.
- For iron-ons, cover with a thin cloth and press with a hot iron for 30-60 seconds.
- For sew-on patches, use a needle and thread to stitch neatly around the edges.
3.2 Taking in the Sides
This gives an oversized tee a more fitted, feminine silhouette.
- Turn the t-shirt inside out and put it on.
- Pin along the sides to mark the new, slimmer seam.
- Take it off and sew a new seam along the pinned line, starting from the waist and tapering up to the armpit.
- Try it on right-side out to check the fit. Adjust if needed.
- Cut off the excess fabric, leaving a half-inch seam allowance.
3.3 Creating a Cold-Shoulder Look
A stylish and less drastic alternative to the off-shoulder cut.
- Mark a horizontal line across the top of the sleeve, about 3-4 inches down from the shoulder seam.
- Cut along this line to remove a section of the sleeve top.
- Fold the raw edge inward and sew a clean hem.
Method 4: Embellishment and Detail Work
Add texture and sparkle with these finishing touches.
4.1 Distressing and Ripping
Create a worn-in, grunge aesthetic.
- Place cardboard inside the shirt where you want a rip.
- Use a razor blade or scissors to make small, horizontal cuts.
- Use your fingers or the end of a pencil to gently stretch and fray the cuts.
- For a kneaded look, rub sandpaper over areas like the collar and hem.
4.2 Adding Studs or Rhinestones
For a punk-rock or glamorous look.
- Plan your design on the shirt. You can mark it with chalk.
- For pronged studs, poke holes in the fabric and push the prongs through. Bend them flat on the inside.
- For flat-back rhinestones, use a strong fabric glue or hot glue to attach them.
4.3 Fabric Paint and Drawing
Unleash your inner artist.
- Place cardboard inside the shirt to prevent bleed-through.
- Sketch your design with a pencil or tailor's chalk.
- Use fabric markers or paint to fill in your design.
- Let it dry completely, then heat-set it with an iron according to the paint instructions.
Need Supplies?
Visit our Customization Supplies Shop for fabric paints, patches, and other DIY materials.
Comparison: Choosing Your Customization Method
| Method | Skill Level | Time Required | Key Tools | Best For |
|---|---|---|---|---|
| No-Sew Cutting | Beginner | 5-15 mins | Scissors | Instant style changes, beginners |
| Bleach & Dye | Intermediate | 1-2 hours | Bleach/Dye, Gloves | Bold color and pattern statements |
| Sewing | Intermediate/Advanced | 30 mins - 2 hours | Needle/Thread, Sewing Machine | Precise alterations, durable changes |
| Embellishment | Beginner/Intermediate | 20 mins - 1 hour | Studs, Paint, Glue | Adding personal details and texture |
Frequently Asked Questions (FAQs)
For Beginners
What type of oversized t-shirt is easiest to customize?
A 100% cotton t-shirt is the best choice. It is easy to cut, dyes well, and is generally forgiving for beginners.
I don't have fabric scissors. Can I use regular paper scissors?
It is not recommended. Paper scissors will dull quickly and can lead to jagged, uneven cuts on fabric. Sharp fabric scissors are a worthwhile investment.
How do I prevent a cut t-shirt from fraying too much?
The raw edge will naturally curl and stop fraying after one or two washes. For a clean finish, you can hem it with a sewing machine or use a simple hand-stitch.
For Dyeing and Bleaching
Can I bleach dye a polyester t-shirt?
No, bleach does not work well on polyester. It may slightly lighten the color but will not create the dramatic effect seen on cotton. Always check the fabric blend.
How do I set the color after tie-dyeing?
After rinsing, wash the dyed shirt in cold water with a small amount of detergent. Using a commercial dye fixative or vinegar in the rinse can also help lock in the color.
Why did my bleached shirt turn orange instead of white?
The final color depends on the original dye in the shirt. Some black dyes, for example, will lift to a rust-orange color. This can be a desired aesthetic effect.
For Advanced Customization
What is the best stitch for taking in the sides of a t-shirt?
A stretch stitch, like a narrow zigzag stitch or a lightning bolt stitch, is essential. A straight stitch will pop when the fabric stretches.
How can I add a professional-looking hem to a cropped t-shirt?
Use a double needle on your sewing machine. This creates two parallel lines of stitching on the top and a zigzag on the bottom, allowing the hem to stretch without breaking.
Where can I find unique patches for my project?
Check out our Custom Patches Collection or visit our DIY Resources Guide for more inspiration.
Ready to Create Your Custom Designs?
At Athleisure Basics, we provide the perfect blank canvases for your creative projects.
Get a Custom Quote Today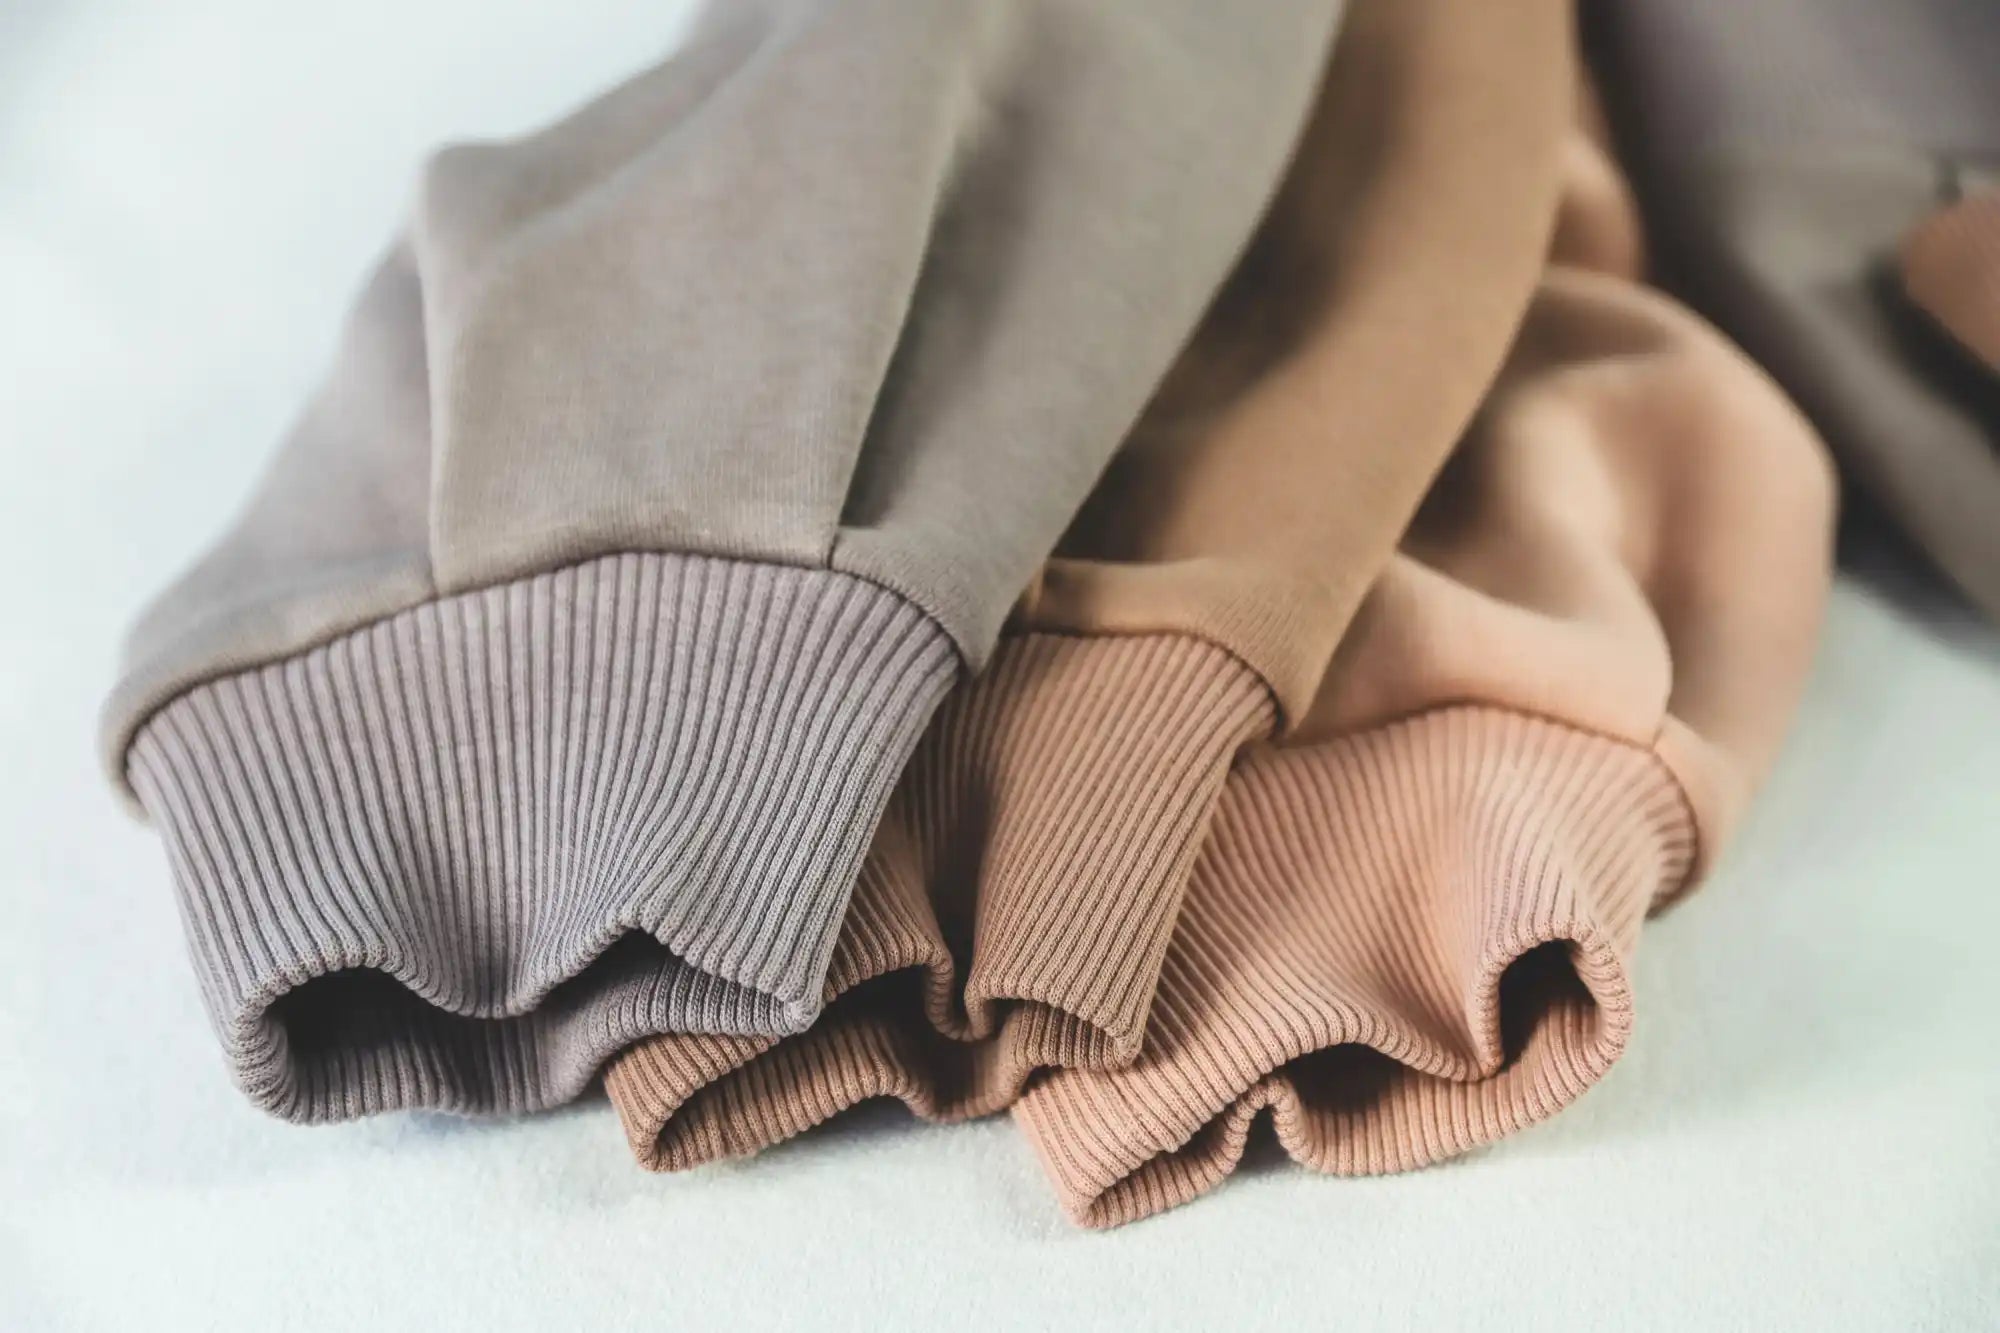
Materials & Fabrics for Clothing Production
Explore cotton, French terry, jersey, fleece, and sustainable blends used in premium apparel manufacturing.
Explore Premium Apparel Fabrics Guide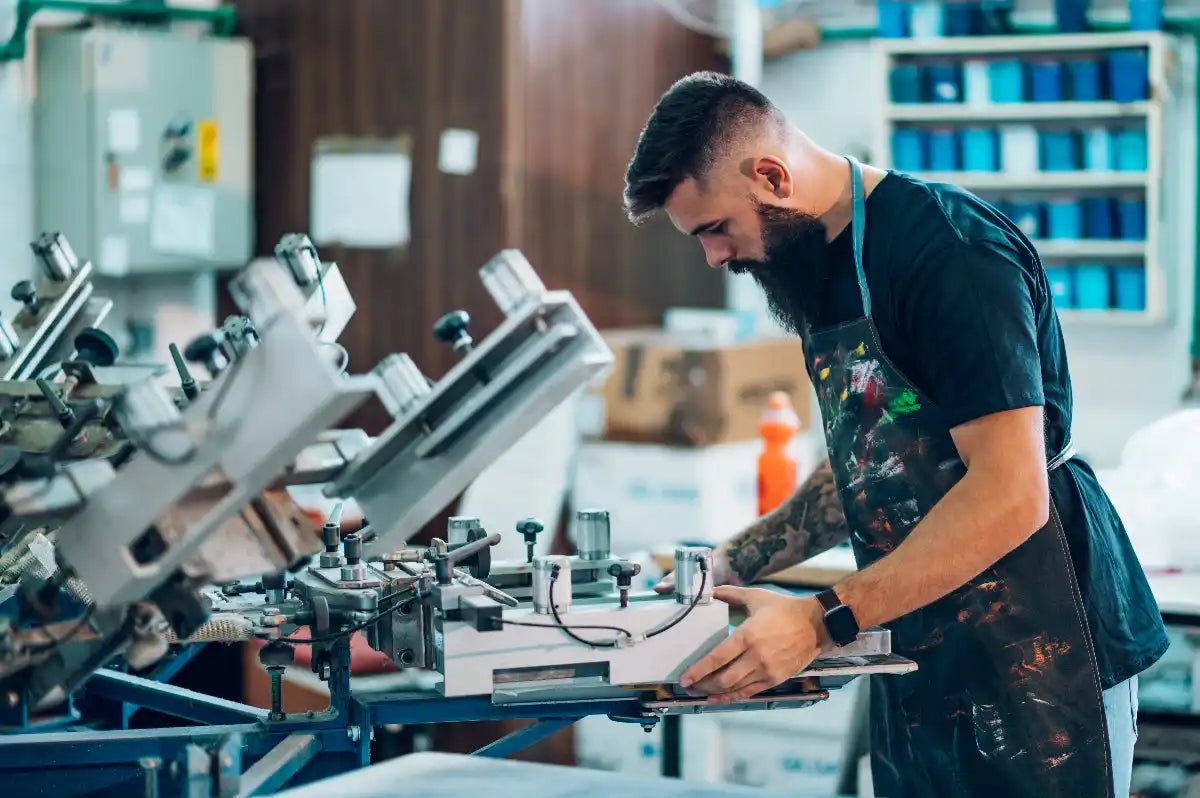
Printing Techniques for Apparel Production
Screen printing, embroidery, puff prints, and digital methods for custom clothing manufacturing.
Explore Custom Apparel Printing Techniques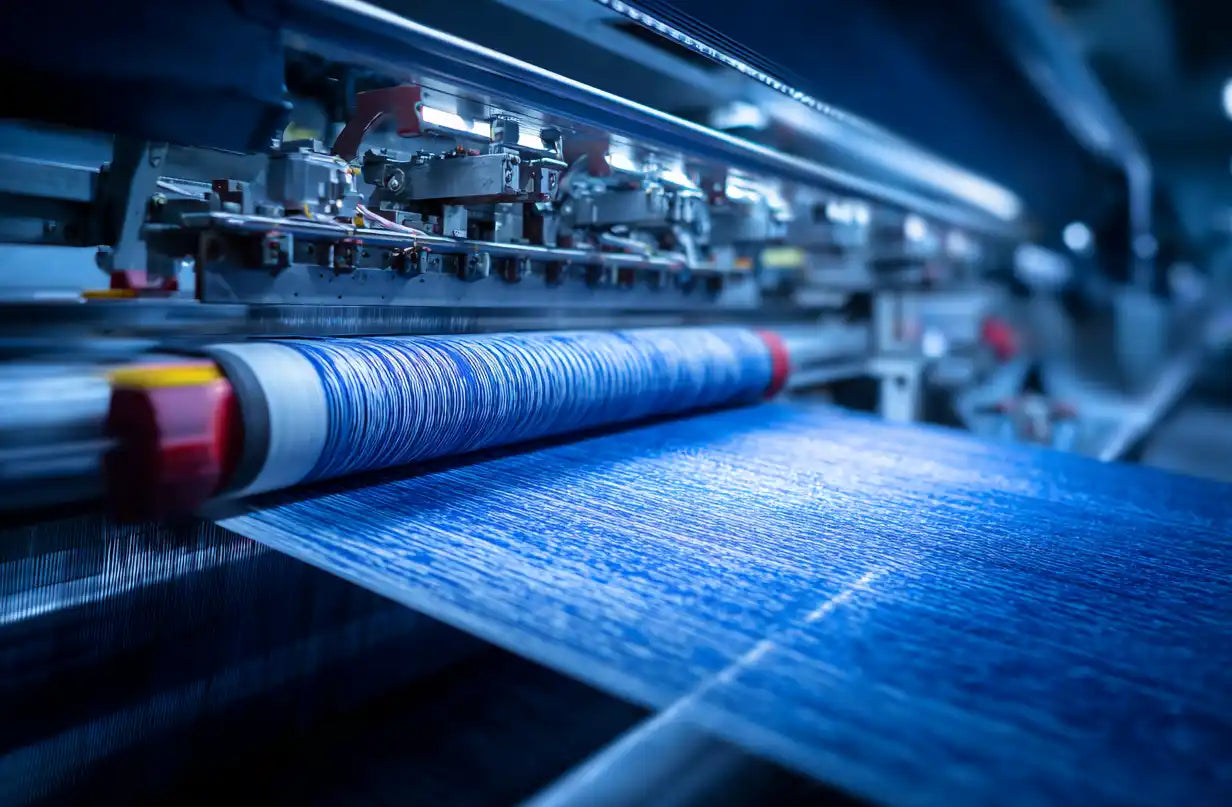
Dyeing Techniques in Clothing Manufacturing
Garment dye, pigment, acid wash, and stone wash finishes that create unique apparel designs.
Compare Apparel Finishing Techniques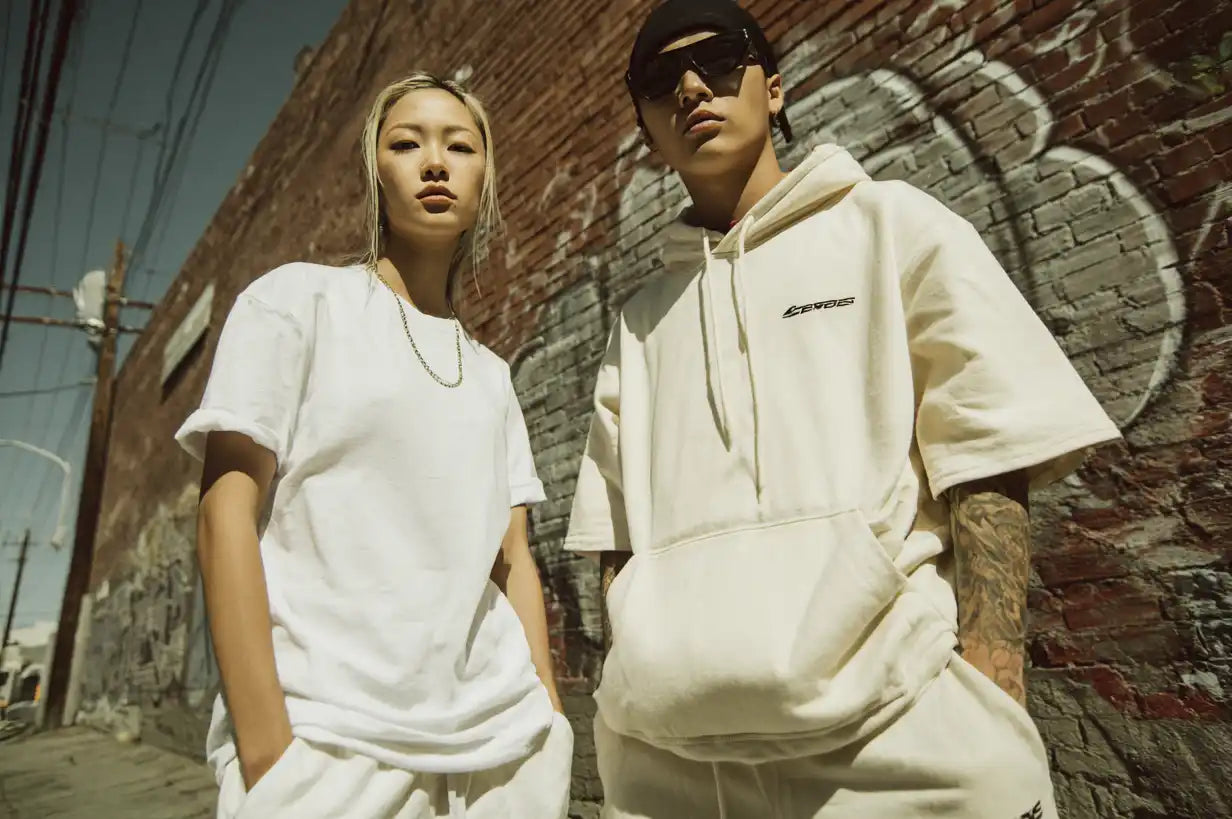
Popular Clothing Items for Custom Apparel
Hoodies, joggers, t-shirts, leggings, and biker shorts — essentials for every apparel collection.
Explore Popular Custom Clothing Items
Trends & Designs in Modern Apparel
Oversized fits, streetwear influences, and activewear styles driving custom clothing production.
Explore Trends & Designs for Apparel Development
Sustainable & Ethical Clothing Production
OEKO-TEX® certified fabrics, organic cotton, and ethical apparel manufacturing in Portugal.
Understand Sustainable & Ethical Clothing Production
Essentials for Custom Clothing Production
Custom labels, packaging, and trims that elevate your apparel brand in production.
Explore Essentials for Custom Clothing Production
Resources for Custom Clothing Production
Startup guides, logistics support, and scaling strategies for apparel brands and wholesale clients.
Explore Resources for Custom Clothing Production
Clothing Manufacturing Glossary
Explore a complete glossary of clothing and garment manufacturing terms
The Complete Clothing Manufacturing Glossary
The Best Clothing Manufacturers
Explore global clothing manufacturers by country
Explore The Best Clothing Manufacturers
The Latest Clothing Industry Updates in 2025
Discover the latest news about important topics in the clothing industry in 2025,
Stay On Top Of Clothing Industry Updates
Worldwide Best Manufacturers of Clothes in 2026
Top clothing manufacturers worldwide organized by product type
Find The Worldwide Best Manufacturers of Clothes